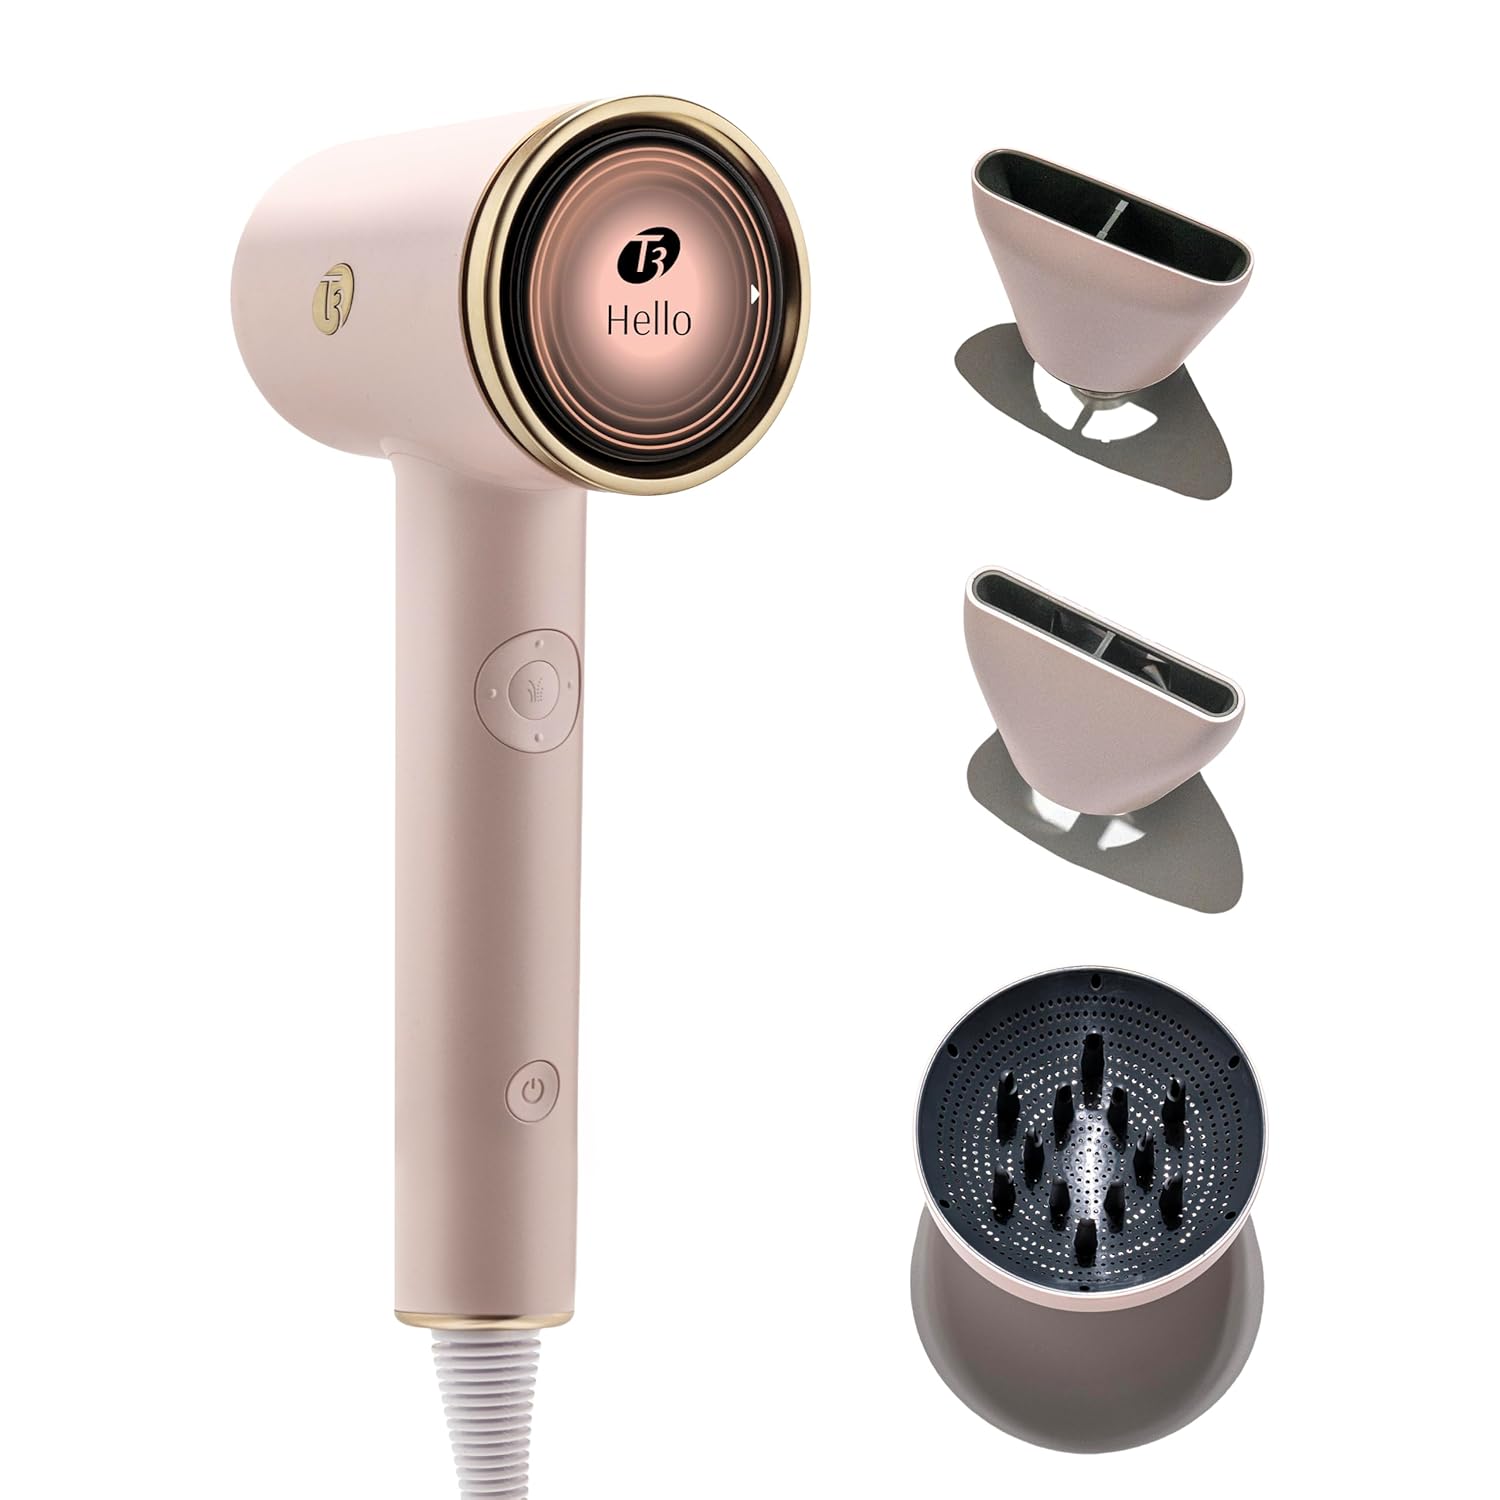

The cool shot button sends cooler air through your dryer, giving you a way to finish a section after shaping it with warm air. Use it near the end of styling, not as a substitute for drying damp hair or choosing suitable heat and airflow.
Good results depend more on section size, brush tension, airflow direction, and timing than on a premium dryer alone. This guide explains a repeatable method and where the ELLA BELLA® Ionic Hair Dryer with Diffuser may fit, based on published product information.
For help choosing a dryer around portability and handling, see our guide to lightweight hair dryers for travel. The same basics apply whether you style at home or pack a dryer for a trip.

Pros
- Quiet even at high power
- Lightweight and compact
- Dries hair quickly
- Adjustable heat and airflow
- Three-year warranty
Cons
- Premium price for the segment
- Warranty requires product registration
- Published specifications are limited
Detailed Review
What stands out in the currently available product data:
- Negative ion technology helps reduce frizz and static for smoother, shinier hair.
- Intelligent heat control adjusts temperature to help prevent heat damage while drying quickly.
- Compact 1.32-pound body and balanced design make extended styling sessions easier on your arms.
- Quiet operation lets you dry and style without the loud motor noise typical of many dryers.
- Adjustable heat and airflow settings give you control for fine, thick, short, or long hair.
- Included diffuser helps define curls and adds volume while distributing air gently.
Best For / Avoid If
Best for buyers prioritizing
- Quiet even at high power
- Lightweight and compact
- Dries hair quickly
Consider another option if
- Premium price for the segment
- Warranty requires product registration
- Published specifications are limited
A cool shot is most useful after warm air has shaped a section. Work in manageable sections, direct airflow along the hair, then switch to cool air before releasing the shape.
1. Start with towel-dried, detangled hair
Gently remove excess water with a towel, then detangle with a suitable comb or brush. Hair that is dripping wet takes longer to dry, while rough towel rubbing can increase tangling and friction.
Apply any heat-protectant product according to its label, and choose styling products that suit your hair and routine. Keep products away from the dryer’s air intake, and follow the appliance manual for safe operation.
2. Choose heat and airflow before shaping
Select a heat setting that dries and shapes your hair without unnecessary heat exposure. Start lower if you are unsure, then adjust gradually; the right setting depends on hair texture, section thickness, moisture, and styling goal.
Use moderate airflow when working with a brush so you can control the section. Higher airflow may speed rough drying, but it can disrupt a smooth finish or scatter curls before they take shape.
3. Dry each section until nearly dry
Divide hair into sections you can manage comfortably. Aim the dryer from roots toward ends, keeping the nozzle moving and at a comfortable distance rather than concentrating heat on one spot.
Do not switch to cool air while the section remains wet. Cool airflow can finish a style, but it is not a shortcut for removing most of the moisture or correcting poor sectioning.
4. Shape with warm air and controlled tension
For a smooth bend or straighter finish, guide a brush through the section while directing warm airflow along the hair. For volume, lift at the roots and shape the section without pulling so firmly that the brush strains your hair.
For curls or waves, use a diffuser if appropriate and follow its instructions. A brush-based method may disturb curl patterns, so adapt section size and handling instead of forcing one technique onto every texture.
5. Press cool shot while the section is held in shape
Once the section is dry and shaped, keep it supported with the brush or your hand. Press the cool shot and direct airflow over the section for several seconds, moving the dryer steadily rather than fixing it in one place.
Release the section after the cool airflow has passed over it, then let it settle before brushing or reshaping. There is no universal timing: section size, dryer airflow, hair density, and desired finish all affect how long the step takes.
6. Check the finish before repeating
Look for damp roots, flyaways, or a shape that has relaxed. If a section needs more work, return briefly to warm air for shaping, then cool it again while holding the intended form.
A cool shot is a finishing technique, not a guarantee that a style will last all day. Humidity, hair condition, products, and the styling method can all affect how the finished hair behaves.
7. Keep the dryer maintained
Unplug the dryer before cleaning it, and check its manual for filter care and attachment instructions. A clear intake supports normal airflow; do not operate the appliance with a blocked filter or damaged cord.
Let attachments cool before handling and store them where they will not be crushed or exposed to moisture. Maintenance does not improve styling technique, but it helps keep the appliance ready for consistent use.
Why You Should Trust Us
Our guidance separates basic styling technique from product-specific claims. Product details here come from the published listing, which describes multiple heat settings, intelligent heat control, negative-ion technology, low-noise technology, and three magnetic nozzles.
Those are manufacturer-provided descriptions, not independently verified measurements or proof of a particular styling outcome. The available information does not specify cool-shot temperature, airflow values, warranty terms, or attachment-by-attachment compatibility, so we do not infer them.
Final Thoughts
The ELLA BELLA® Ionic Hair Dryer with Diffuser is the only listed product, so it is the sole candidate for overall, value, and specific-use recommendations. Its listed multiple heat settings and three magnetic nozzles may suit someone who wants options for different styles, but the published details do not establish how its cool-shot control performs.
It may be worth considering if the listed attachments and settings match your routine. Skip it if your decision depends on independently verified drying time, measured noise, warranty coverage, or a clearly documented cool-shot specification; those details are not provided here.
Compare priorities in our premium hair dryer category and browse premium dryer options organized by budget. In either case, technique and a suitable heat setting matter more than adding cool air to every section.
FAQs
When should I use the cool shot button while blow drying?
Use it after warm air has dried and shaped a section. Hold the section in its intended form while directing cool airflow over it, then release it.
Should I use cool shot on wet hair?
Usually, dry the section substantially with a suitable heat setting first. Cool airflow is a finishing step, not an efficient replacement for drying wet hair.
How long should I hold the cool shot button?
There is no fixed duration for every dryer and section. Pass cool air over the shaped section for several seconds, adjusting for its size and the dryer’s airflow.
Does a cool shot make a blowout last longer?
It can help finish a section after shaping, but it cannot guarantee longer-lasting results. Hair type, humidity, styling products, and technique also influence how a style holds.
Should I use a brush during cool shot?
Yes, if the brush is already holding the shape you want. Keep the section supported during cool airflow, then release it gently once the pass is complete.
Can I use cool shot with a diffuser?
That depends on your dryer and attachment instructions. If compatible, use the diffuser gently and avoid disturbing curls; the published product information does not specify cool-shot compatibility by attachment.
Does every hair dryer have a cool shot button?
No. Controls vary by model, so check the manual before buying if this feature matters to your routine. The supplied ELLA BELLA information does not confirm its cool-shot control.
What matters more than the cool shot feature?
Suitable heat and airflow settings, manageable handling, and a technique that fits your hair are more fundamental. For choosing among dryer types, see our lightweight hair dryer guide.
Evidence and safety references
These references support the general technology and safety context. Product specifications can change; confirm the current manual and regulatory status before use.
- Study: hair-shaft damage, dryer temperature and distance
- Study: effects of heat treatment on hair structure
Safety note: Beauty devices are not a substitute for diagnosis or treatment. Follow the device instructions and consult a qualified clinician if you have a skin condition, take photosensitizing medication, are pregnant, or are unsure whether a device is appropriate.