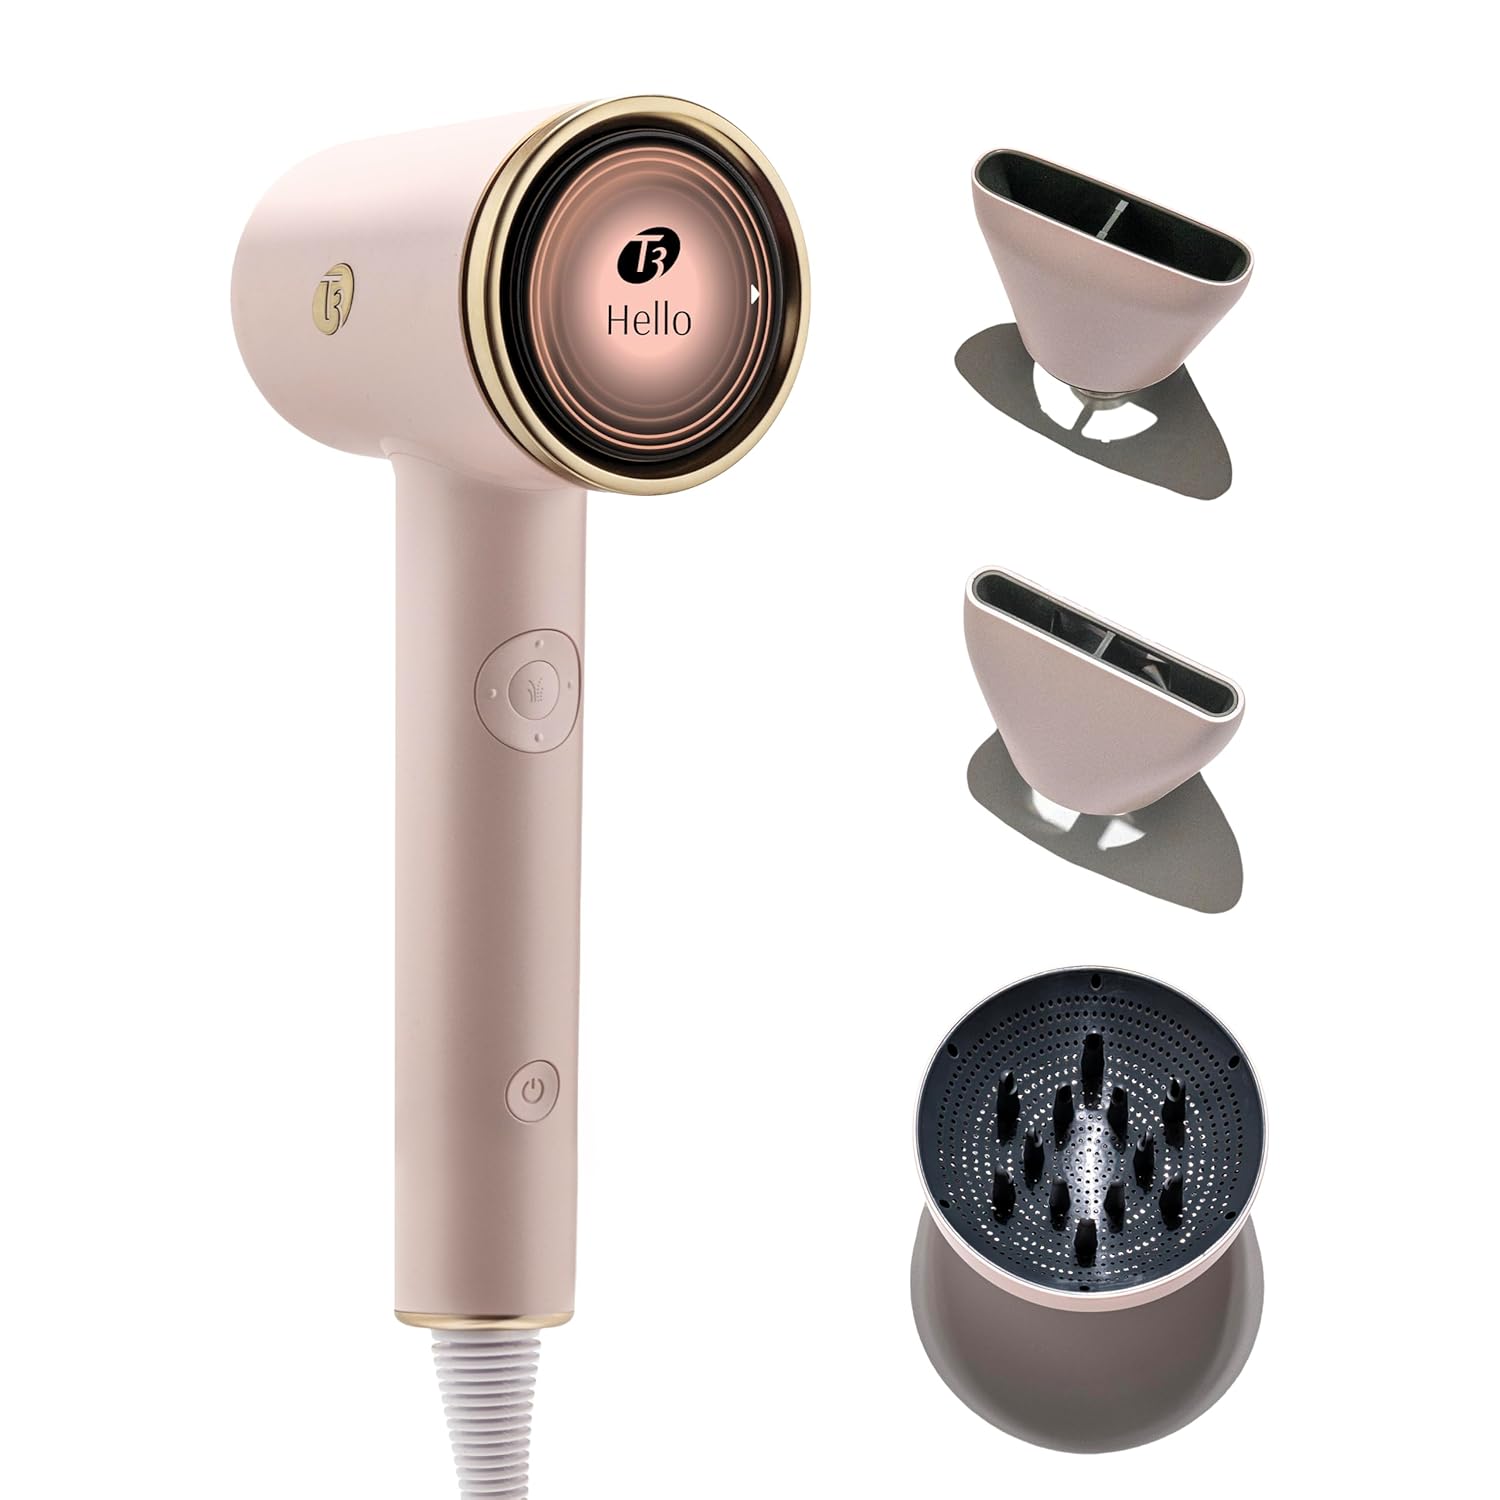

Lint and dust can collect around a removable hair dryer filter, making routine cleaning part of sensible device care. If you are learning how to clean a removable hair dryer filter, start with your dryer’s manual because designs and approved cleaning methods vary.
This guide explains a conservative cleaning routine, what to check before restarting, and which mistakes to avoid. For broader buying context, see our premium hair dryers category.

Pros
- Quiet even at high power
- Lightweight and compact
- Dries hair quickly
- Adjustable heat and airflow
- Three-year warranty
Cons
- Premium price for the segment
- Warranty requires product registration
- Published specifications are limited
Detailed Review
What stands out in the currently available product data:
- Negative ion technology helps reduce frizz and static for smoother, shinier hair.
- Intelligent heat control adjusts temperature to help prevent heat damage while drying quickly.
- Compact 1.32-pound body and balanced design make extended styling sessions easier on your arms.
- Quiet operation lets you dry and style without the loud motor noise typical of many dryers.
- Adjustable heat and airflow settings give you control for fine, thick, short, or long hair.
- Included diffuser helps define curls and adds volume while distributing air gently.
Best For / Avoid If
Best for buyers prioritizing
- Quiet even at high power
- Lightweight and compact
- Dries hair quickly
Consider another option if
- Premium price for the segment
- Warranty requires product registration
- Published specifications are limited
1. Check the manual and identify the filter
Find the care instructions for your exact dryer before removing anything. Manuals can specify whether the filter cover twists, slides, or releases another way, and whether the filter may be rinsed.
Do not assume every removable-looking part is washable. If instructions are unavailable, contact the manufacturer rather than forcing a cover or using water on an unidentified component.
2. Switch off, unplug, and let the dryer cool
Turn the dryer off, unplug it from the outlet, and place it on a stable, dry surface. Wait until the device has cooled before handling its filter area.
This step reduces avoidable electrical and burn hazards during maintenance. Never clean a plugged-in dryer, and keep the cord and appliance away from sinks or wet surfaces.
3. Remove the filter gently
Follow the manual’s removal direction, using light pressure and keeping fingers clear of narrow openings. If the cover resists, stop and check the instructions again instead of prying it with a tool.
Note how the filter and cover sit before separating them. A quick visual reference can help you return each part to its original position without bending mesh or trapping debris.
4. Clear lint and dust using an approved method
For dry filters, gently remove visible lint with your fingers or a soft, dry brush if the manual permits. Work over a bin, and avoid pushing debris deeper into the mesh or intake.
Use water only when the manufacturer explicitly allows washing. Avoid household cleaners, solvents, sharp picks, and forceful compressed air unless the manual specifically approves them.
5. Dry fully and inspect before reassembly
If washing is permitted, let the filter air-dry completely before reinstalling it. Do not use heat, a towel that sheds fibers, or the dryer itself to speed drying.
Check for persistent buildup, tears, deformation, or a loose fit. A damaged filter may need manufacturer-approved replacement; do not operate the dryer with a missing or incorrectly seated filter.
6. Refit the filter and verify operation
Reinstall the dry filter and cover according to the manual, checking that each part sits securely without being forced. Confirm the intake is unobstructed before plugging the dryer back in.
Run the dryer only after reassembly, following its normal operating instructions. If it makes an unusual noise, smells unusual, or appears to have an airflow problem, switch it off and contact the manufacturer.
What to Consider for Routine Filter Care
Cleaning frequency depends on use and surroundings
There is no single interval that fits every dryer or household. Check the filter regularly, especially if you use the device often or store it where lint and dust gather.
Follow any schedule in the manual, and inspect sooner when visible debris builds up. Avoid interpreting a general schedule as a substitute for device-specific care instructions.
Filter material and design change the method
Mesh, screens, and filter covers may respond differently to brushing or rinsing. Manufacturer guidance should determine the method, not assumptions based on another dryer’s design.
Premium features such as multiple heat settings, intelligent heat control, or magnetic attachments do not establish whether a filter is washable. Consult the product manual for care details.
Maintenance affects ownership, not just appearance
Filter cleaning is a basic maintenance task, but it does not replace other care instructions or repair a damaged appliance. Keep the manual and warranty information accessible before attempting anything beyond routine cleaning.
For travel planning, compare dryer size and handling with our guide to lightweight hair dryers for travel. Portability matters, but it does not change safe filter-cleaning steps.
Why You Should Trust Us
We base this guide on general appliance-care principles and the product information available for the ELLA BELLA® Ionic Hair Dryer with Diffuser. That information describes multiple heat settings, intelligent heat control, and magnetic nozzles, but provides no filter-cleaning instructions.
We therefore do not claim that this model’s filter is washable or prescribe a model-specific removal method. The manual and manufacturer support remain the authority for its filter design, cleaning schedule, replacement parts, and warranty conditions.
Final Thoughts
For owners of the ELLA BELLA® Ionic Hair Dryer with Diffuser, the practical recommendation is to inspect the intake, follow the exact manual, and clean only by an approved method. Its listed comfort and styling features do not replace routine maintenance guidance.
Because the published information does not document filter construction, cleaning instructions, or warranty coverage, it cannot support a definitive filter-care advantage over other dryers. Compare ownership details through our premium hair dryer guide and confirm care requirements before choosing.
FAQs
How often should I clean a removable hair dryer filter?
Use the schedule in your dryer’s manual. If no interval is specified, inspect the filter regularly and remove visible lint using only an approved method.
Can I wash a removable hair dryer filter with water?
Only if the manufacturer says washing is permitted. Let a washable filter dry completely before reinstalling it, and never expose the dryer body or electrical parts to water.
Can I use a vacuum to clean the filter?
Check the manual first. Vacuum suction can be unsuitable for some filter materials or designs, so use it only when the manufacturer approves that method.
How to clean a removable hair dryer filter without damaging it?
Unplug and cool the dryer, remove the filter as directed, and use a soft, dry brush only if approved. Do not pry, scrape mesh, or use unapproved liquids.
Can I use my dryer while its filter dries?
Do not operate the dryer without its required filter or with a damp filter installed. Wait until the filter is fully dry and correctly fitted.
What if the filter cover will not come off?
Stop rather than forcing it. Check the manual for the release direction, then contact manufacturer support if the cover remains stuck.
What should I do if filter mesh is torn?
Do not improvise a repair or operate the dryer with a damaged or missing filter. Ask the manufacturer about an approved replacement and any relevant warranty terms.
Does cleaning the filter guarantee better dryer performance?
No performance outcome can be guaranteed from the published information. Cleaning is sensible maintenance, but persistent concerns warrant stopping use and consulting the manufacturer.
Evidence and safety references
These references support the general technology and safety context. Product specifications can change; confirm the current manual and regulatory status before use.
- Study: hair-shaft damage, dryer temperature and distance
- Study: effects of heat treatment on hair structure
Safety note: Beauty devices are not a substitute for diagnosis or treatment. Follow the device instructions and consult a qualified clinician if you have a skin condition, take photosensitizing medication, are pregnant, or are unsure whether a device is appropriate.